


CotD - Monday, May 20, 2024 AND The Candy Macabre Guitar
And how it could be yours...
CotD! Below, but first…
The countdown is on:
5/30: ICHQ Pop-up Shop in the Asheville Mall softly opens
5/31: Candy Macabre official release—vinyl preorders start shipping, album appears on the streamers
6/1: Album Release Event at the Pop-up
The Candy Macabre Guitar
Let’s take a break from the How I Write/Record Series and get back to the guitar. You can win this guitar if you buy the album on vinyl. This is the third post about me building this guitar as a promotional stunt for my album; here is the first and the second.
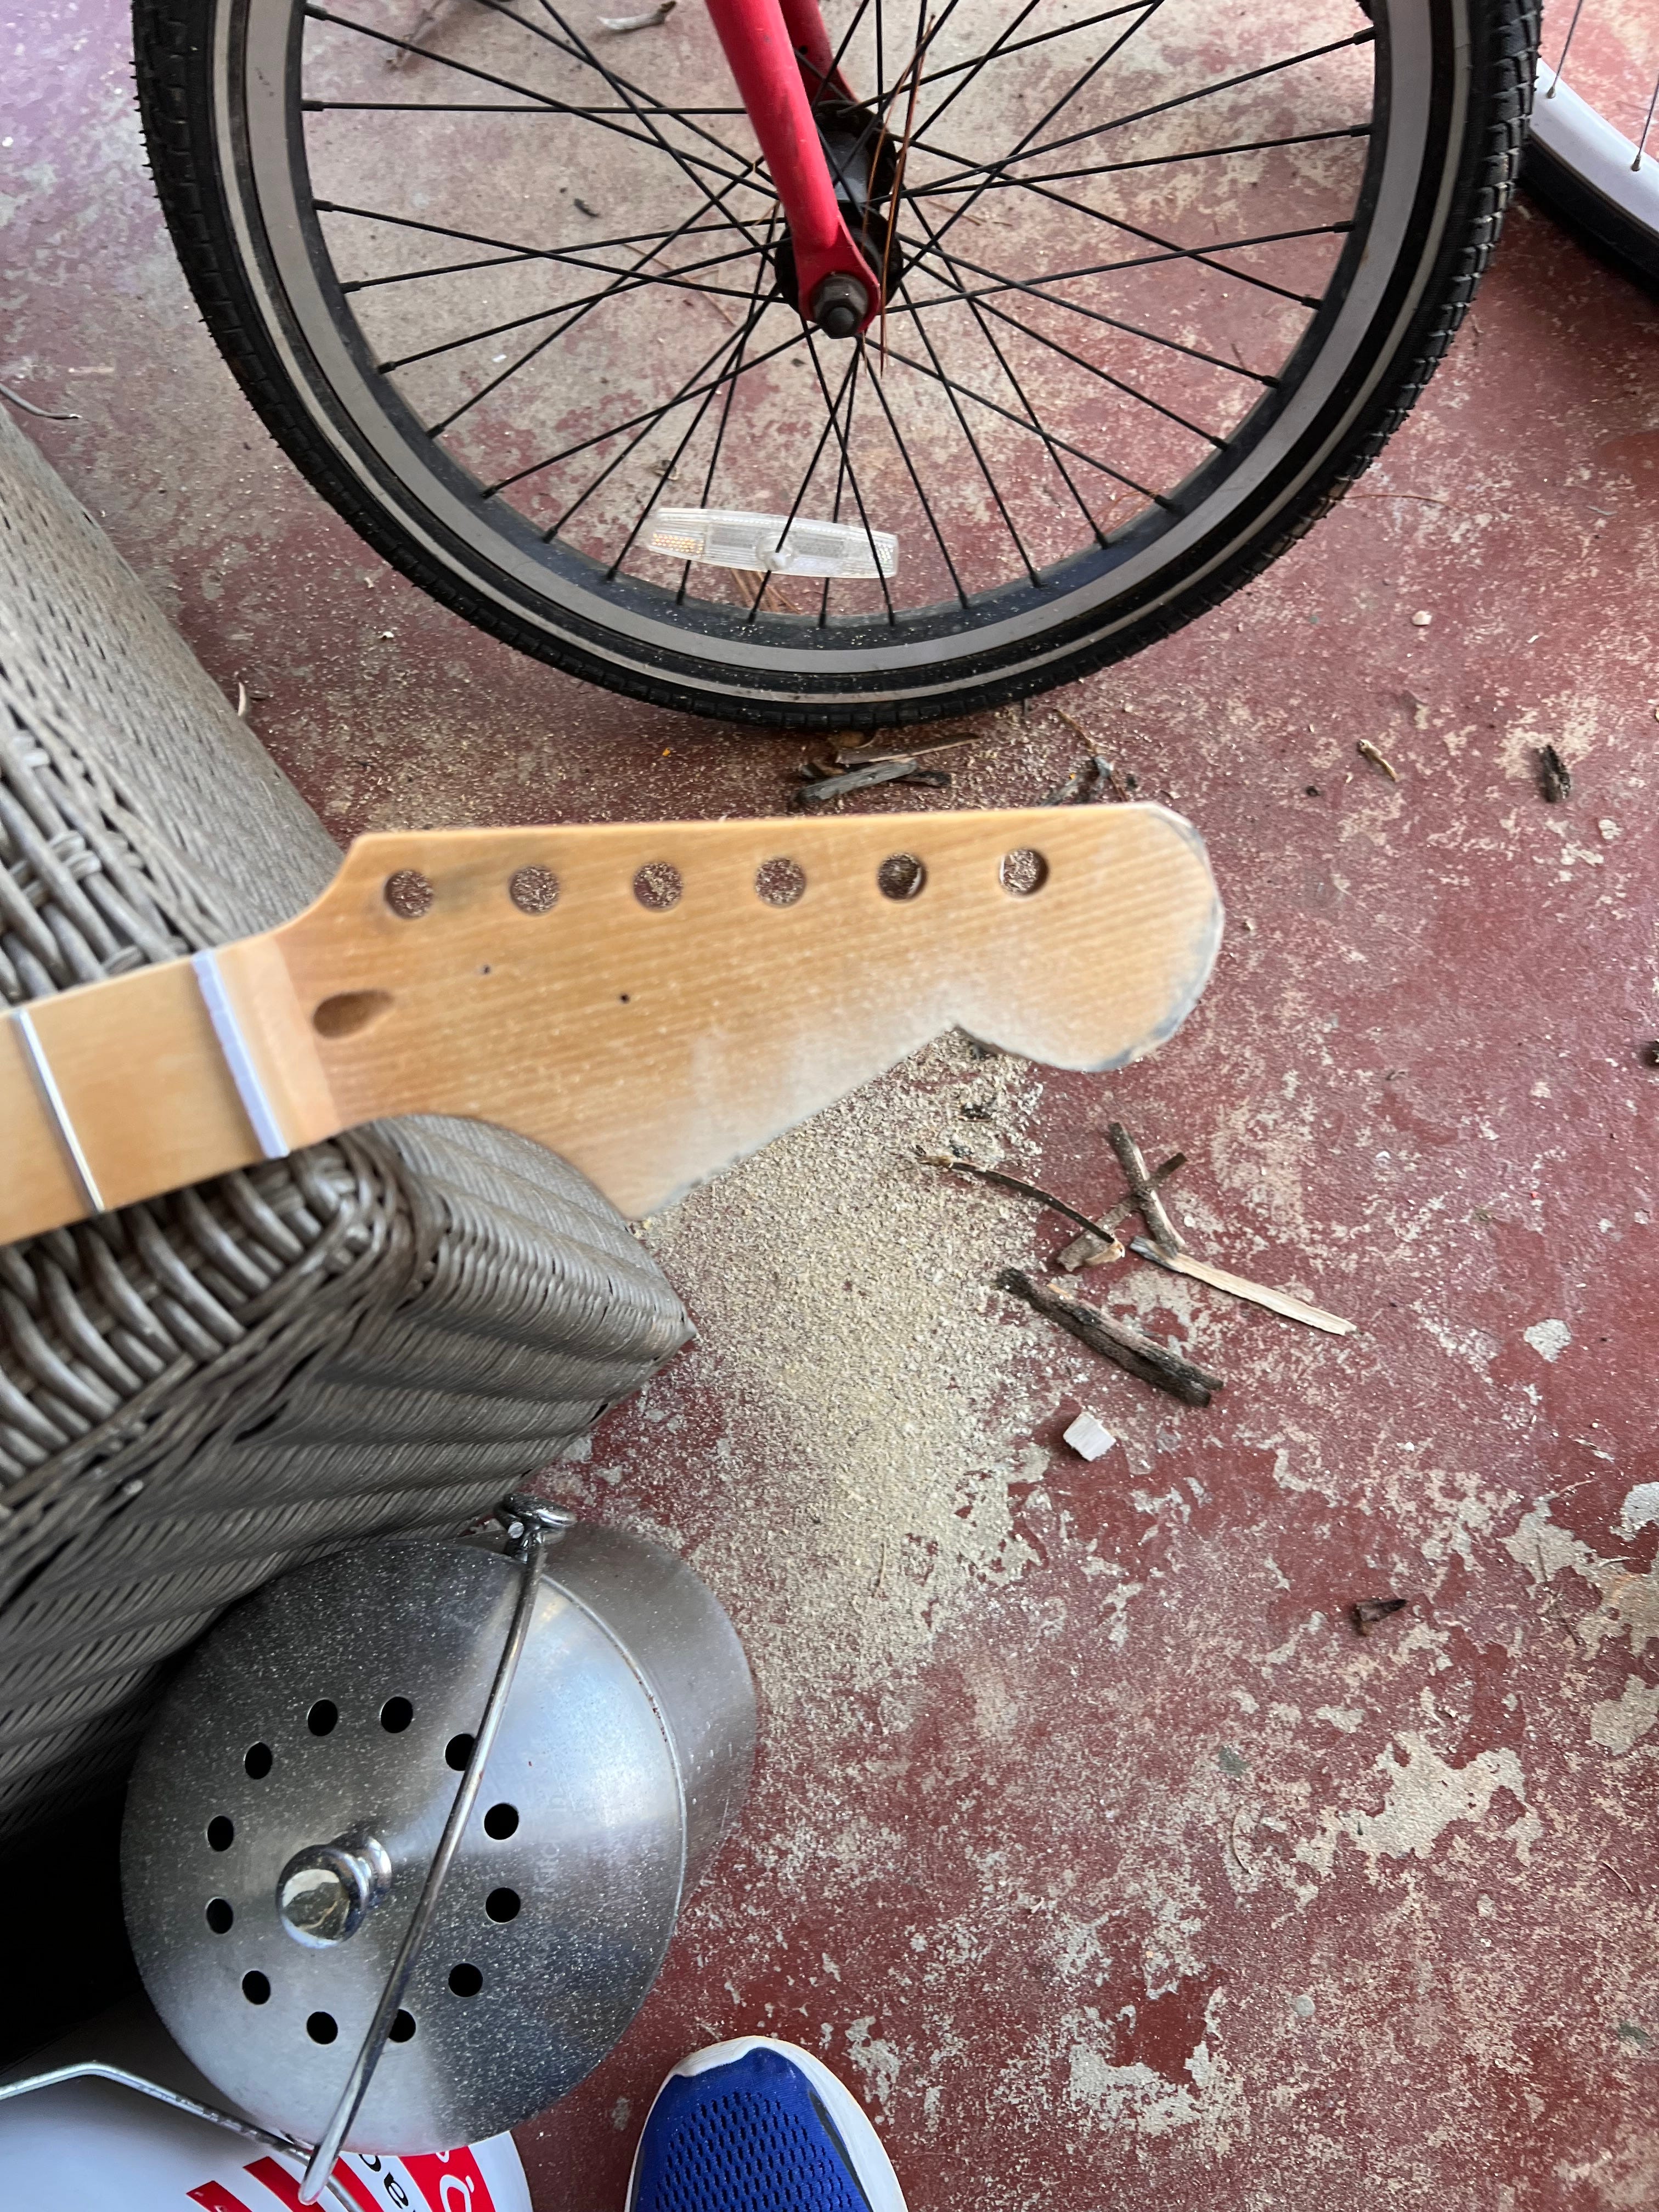
I cut the headstock with a Dremel into a strat shape. I would have made the point more dramatic if I could have. I’m a sucker for that pre-CBS headstock shape, but there wasn’t quite enough wood to go all the way. I like how it turned out though, like a strat but a lil wonky.
Since I bought the body pre-routed and I was planning on having only a bridge pickup, I needed to fill in the opening for the neck pickup.
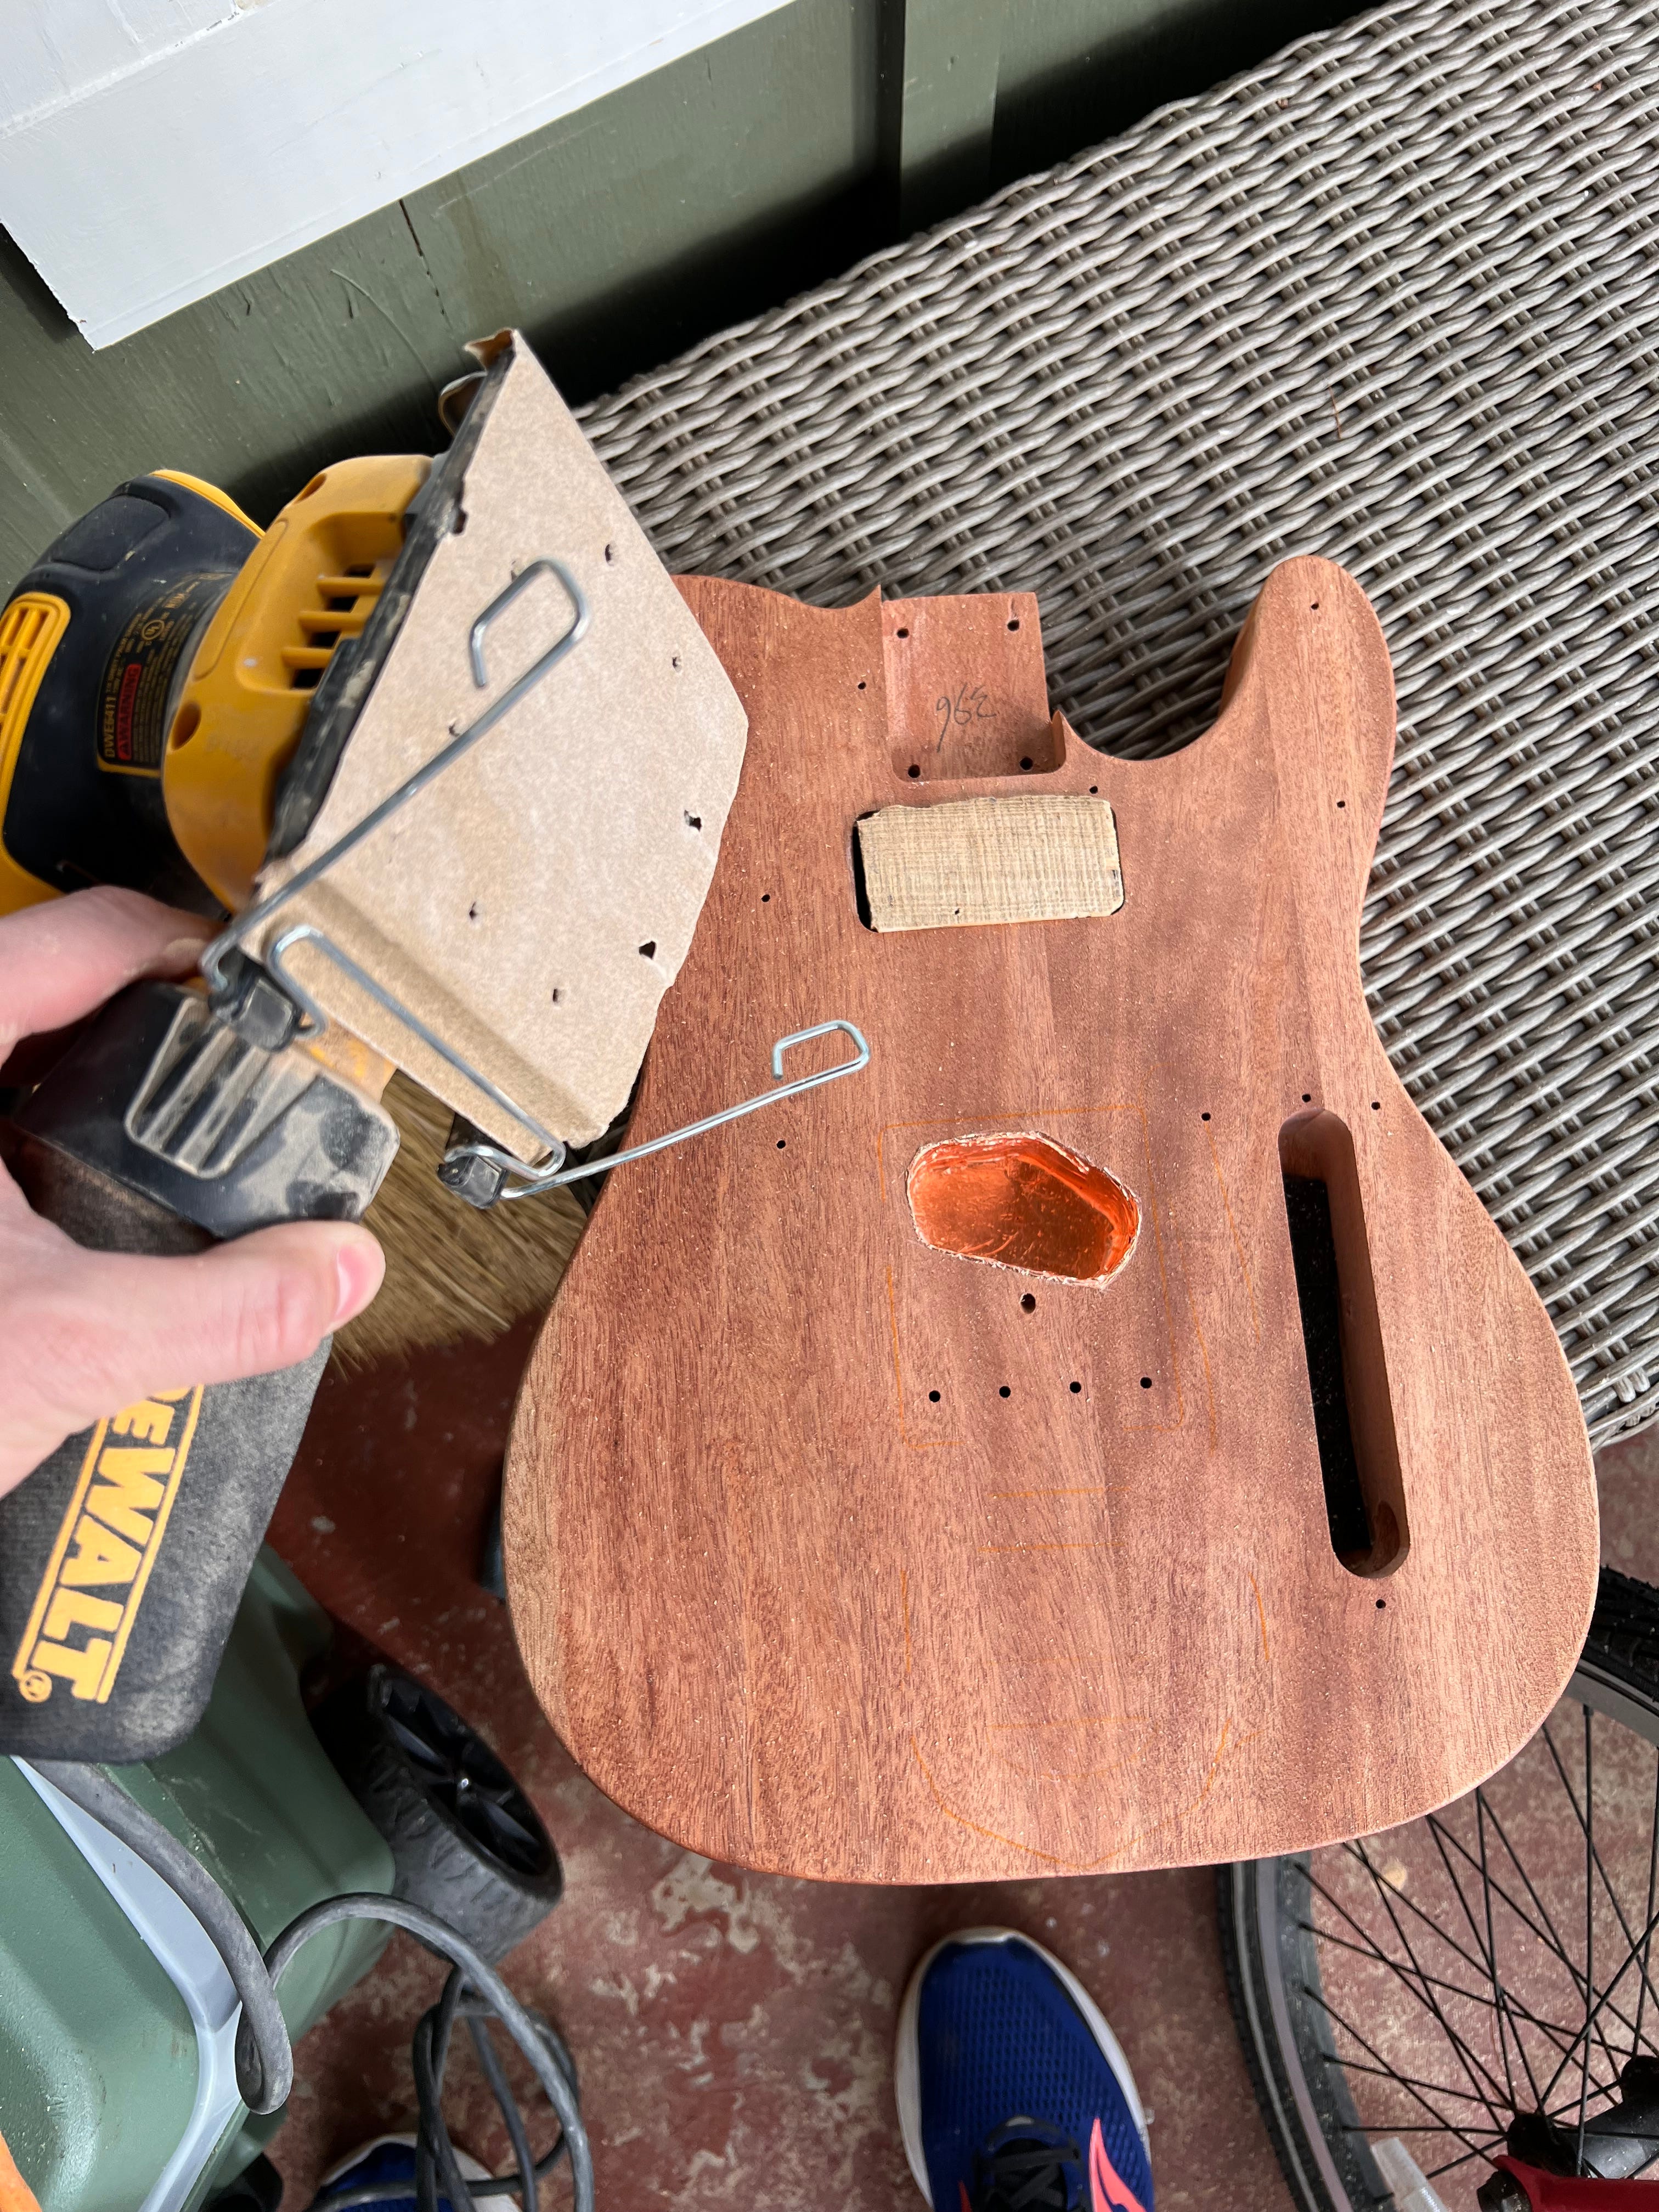
I cut a piece of wood from a scrap of really nice and heavy barn wood that my friend, former Chicago neighbor, and real-life angel, Selena Nichols gave my wife over a decade ago. The rest of that wood makes up a shelf in my basement. (I should write a post about the NICHOLS, and the magical force for good that family has been in my life.) I jammed that piece of my own personal true cross into the precut neck pickup hole and sanded it down. A little wood filler, badda-bing.
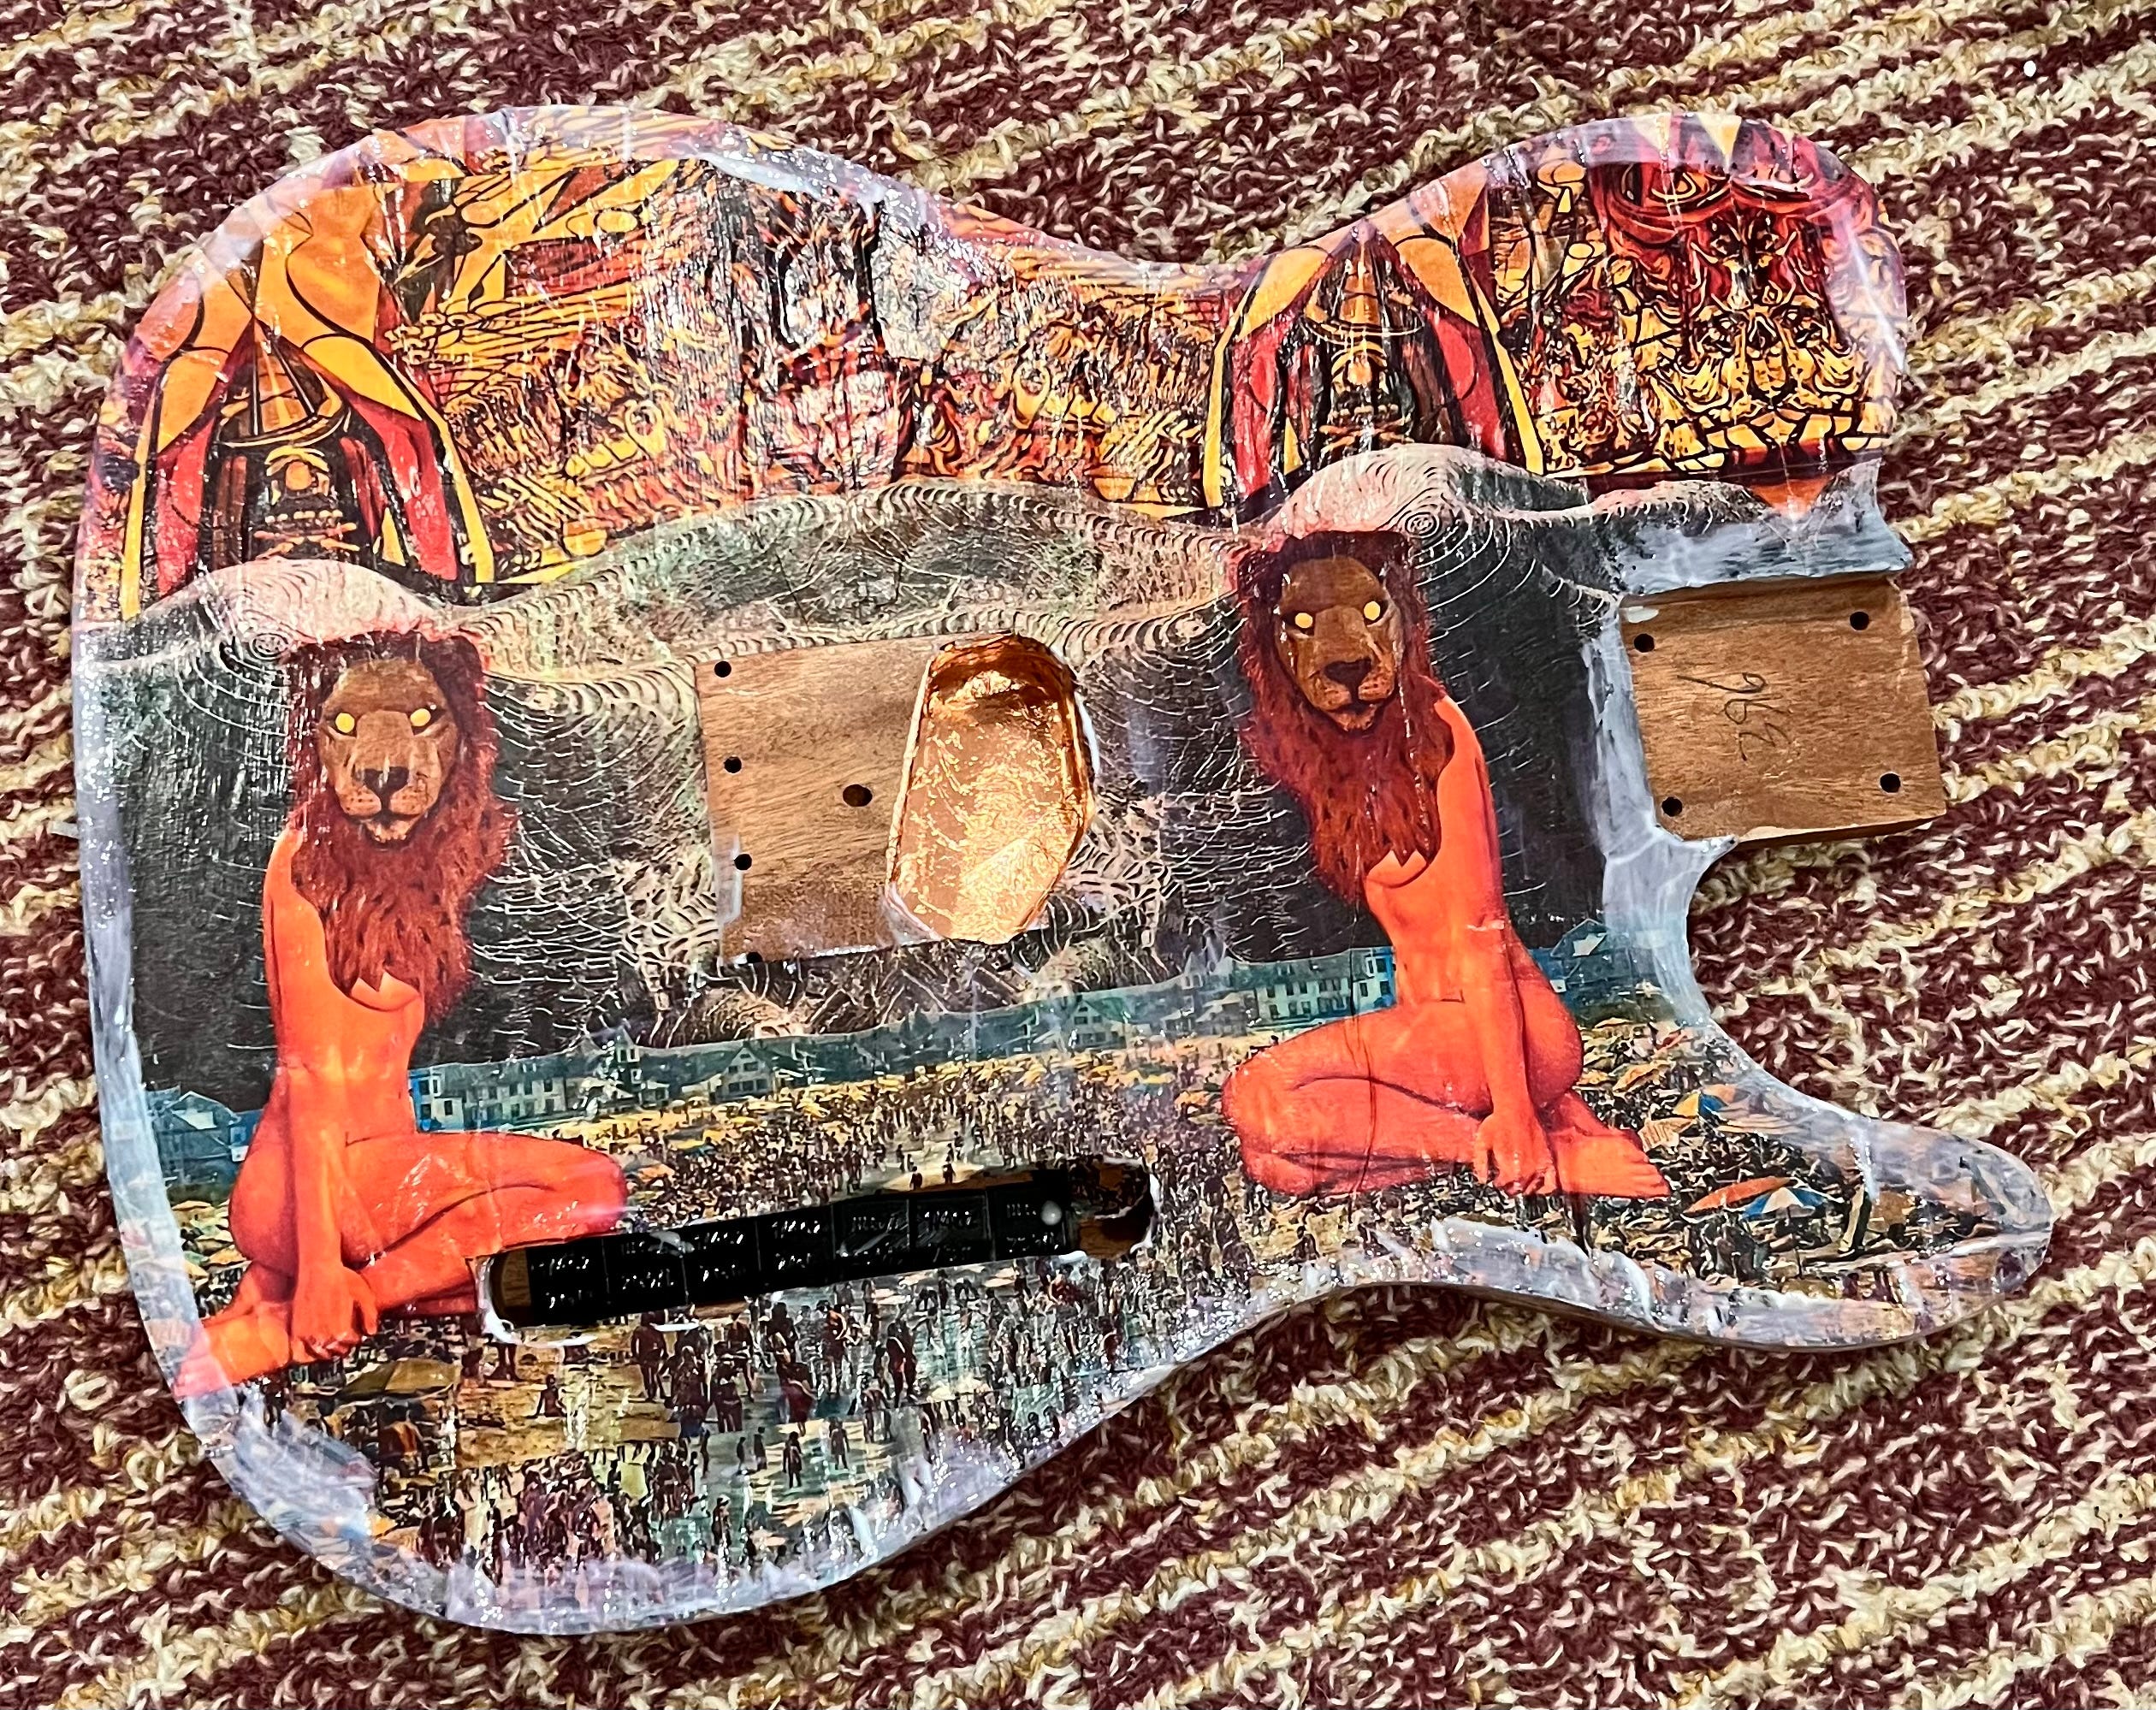
I then started decoupaging the printouts to the wood. Lotsa Mod Podge. The pickup opening is shiny, you may have noticed. That’s copper tape. Single coil pickups generate some hum especially coming through a tube amp. The tape creates a Faraday cage and (they say) reduces hum. You can also see some little black squares in the opening for the switch plate. Those are wheel weights that I got from the auto supply store. They’re little pieces of steel coated in rubber with adhesive on one side. I’m not sure what they’re actually for, but I’ve started putting them into guitars to increase the weight. I like a heavy guitar.
Neck work:
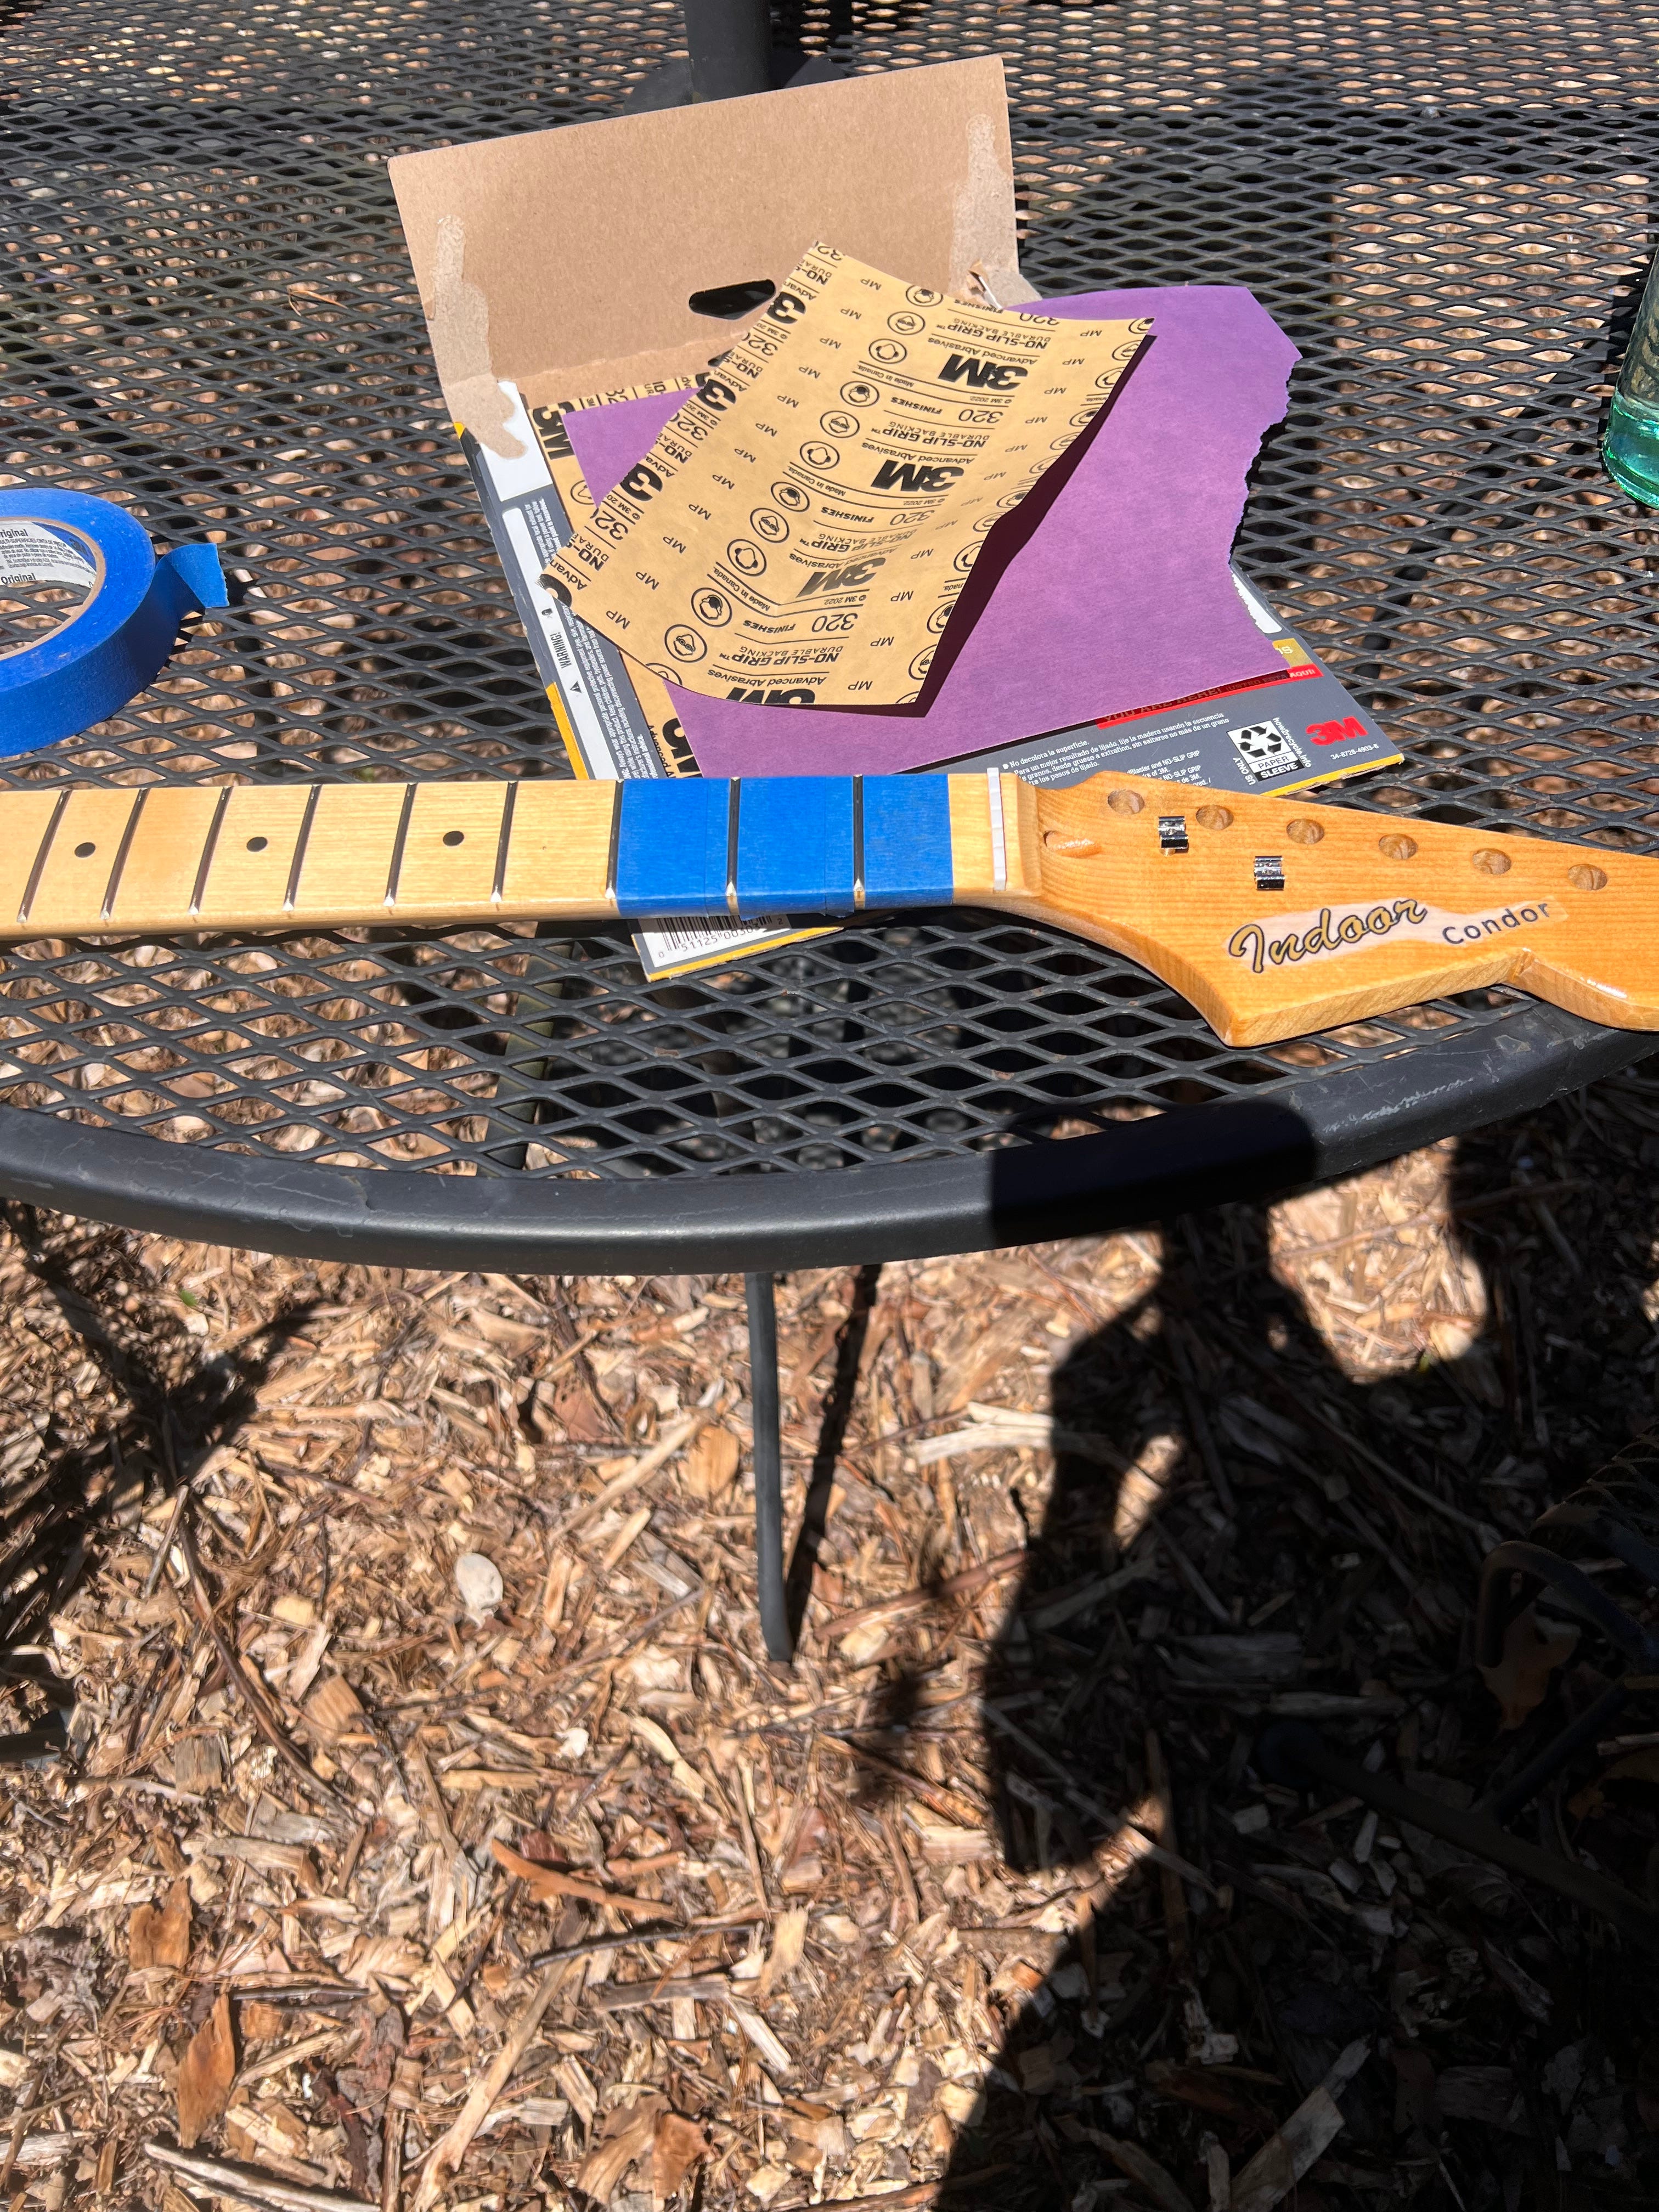
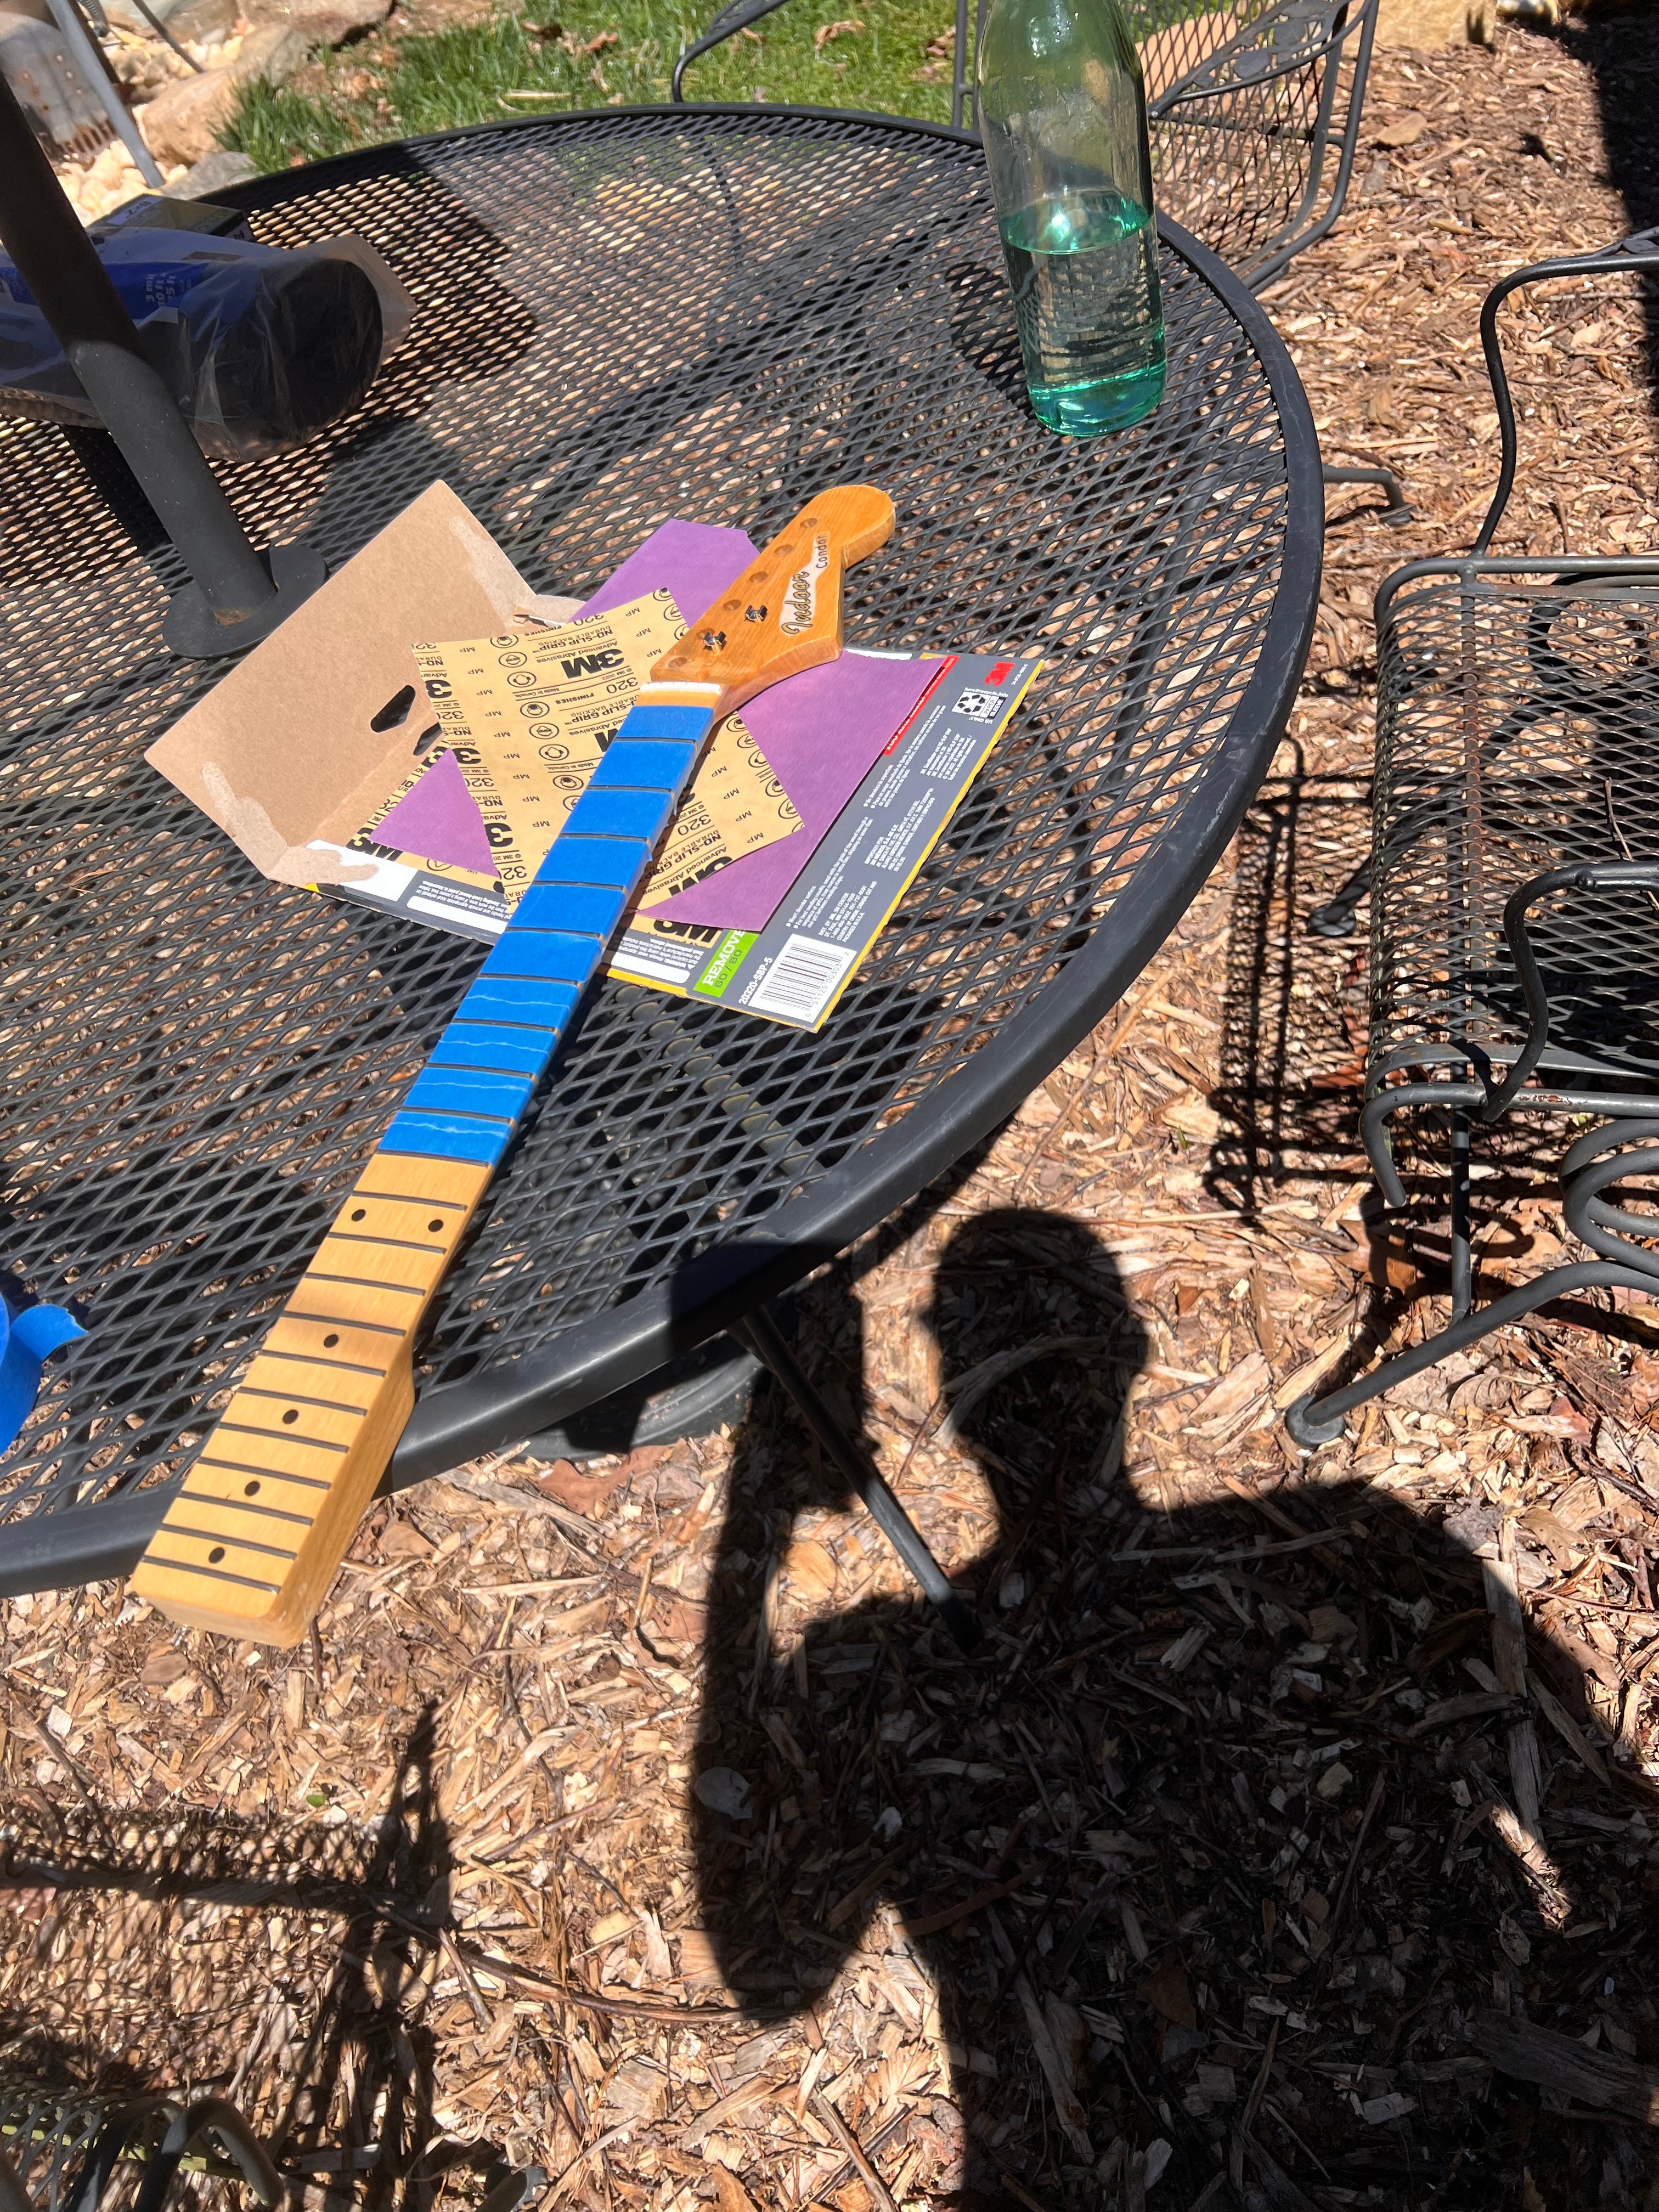
After a lot of Mod Podge on the body, I wanted to add more of a permanent seal, like most electrics you can go buy, so I used a spray-on lacquer. Lots of coats. I also ended up lacquering the neck too, which necessitates sanding the frets, so I tapped up the fretboard to protect it and sanded.
At this point, it’s a pretty complete guitar. See below.
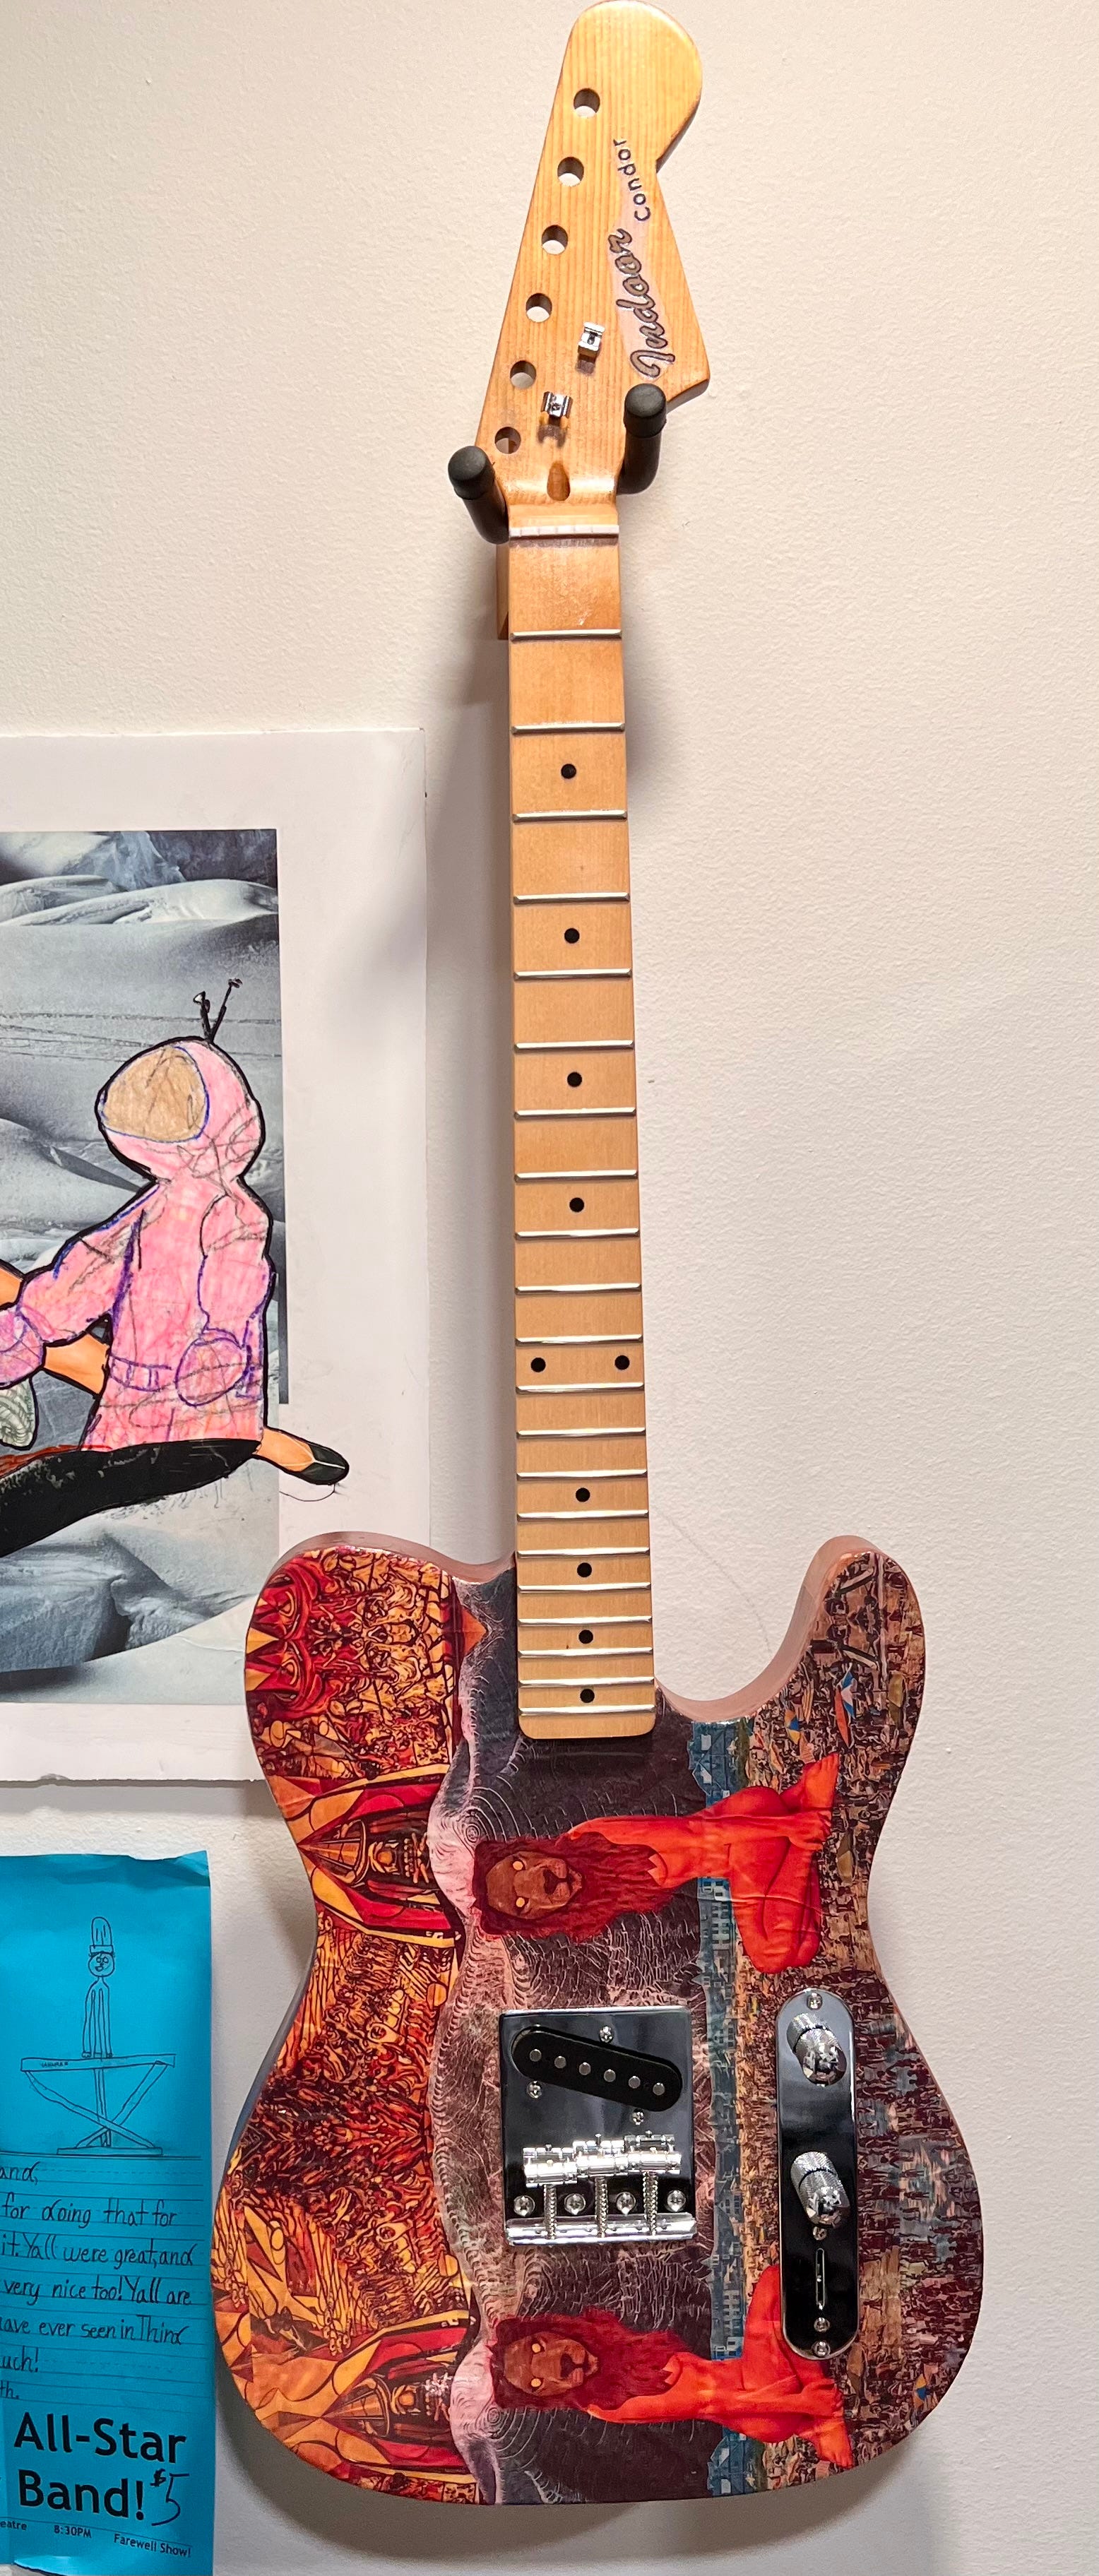
Coming up, more on stringing it up, and doing a multi-step set-up to make it fairly playable.
At long last, the CotD: Luxury Item